Starting from this post I'll perform an overview of all Windows troubleshooting tools.
Hope you'll enjoy it!
Mattia Campagnano
1.
Action Center: accessible from
System or Action Center flag in the taskbar, is used to solve installation problems for devices and applications,and solve hardware and software problems; it displays a history of past and current issues
(fig.1).
2.
Advanced Boot Options Menu: accessible by pressing
F8 key at Windows boot up, has several options to troubleshoot boot problems (in XP is called
Boot Option Menu).
3.
Backup & Restore: present in Start Menu, under Windows, 7 allows to back up and restore user data and the system image and to create a rescue disc. XP displays it under
ntbackup.exe, while Vista calls it
Backup & Restore Center (Fig. 2).
4.
Chkdsk (chkdsk.exe): command allowing to check and repair errors on a drive. Can solve boot problems if errors are related to critical system files. Requires administrative privileges to be run.
5.
Cipher (cipher.exe): command to be used as an administrator to decrypt a file not available because the user account that encrypted it is no longer accessible.
6.
Compatibility Mode: can be accessed from Action Center (
fig. 4) or the program file’s shortcut menu to solve issues preventing legacy applications or drivers from working (
Program Compatibility Wizard under Windows Vista)
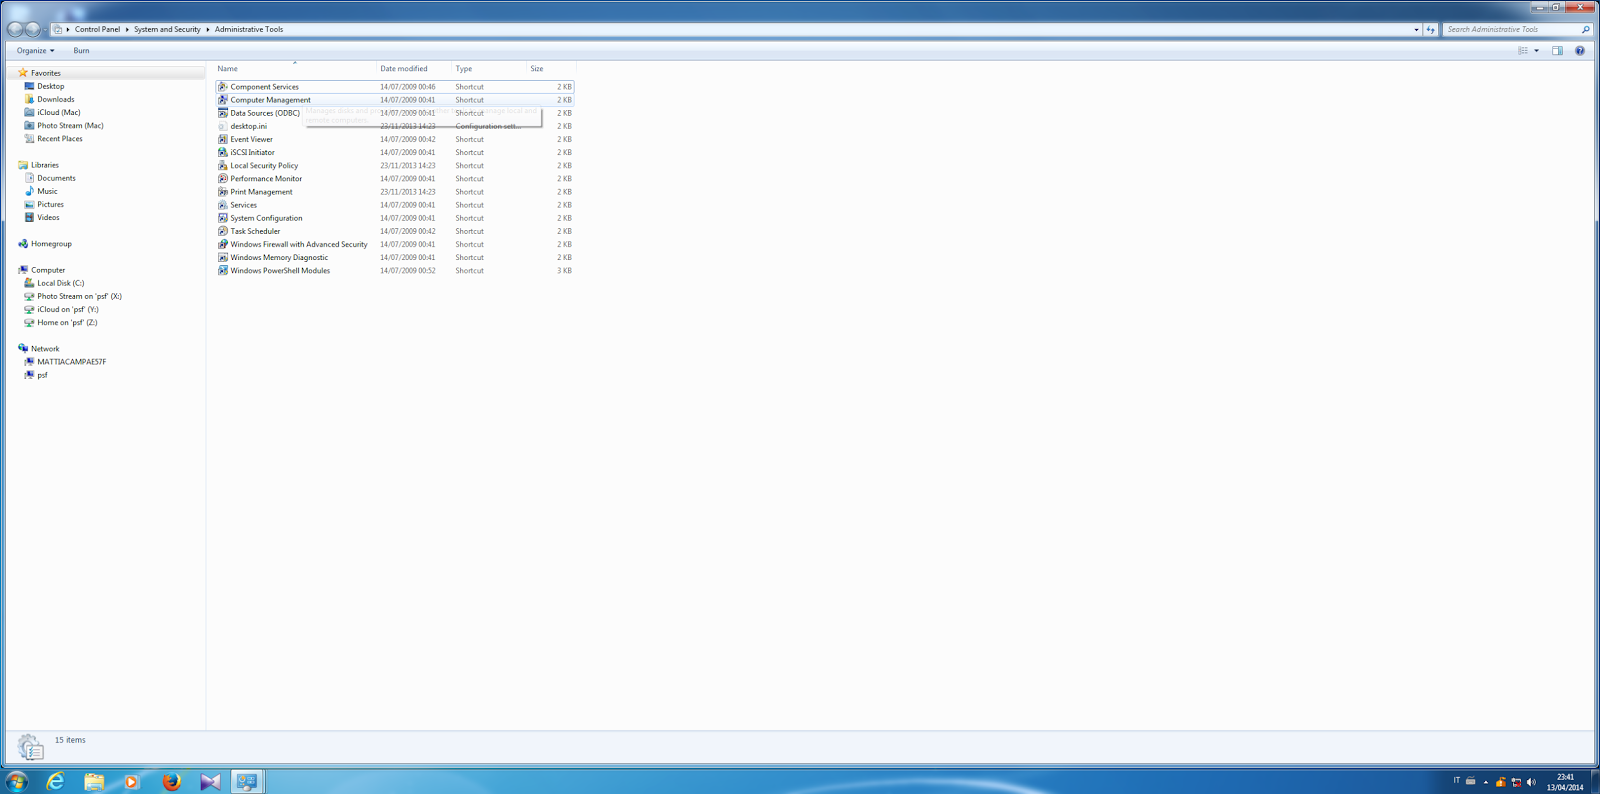
7.
Component Services: listed under
Administrative Tools (Control Panel), registers a component of an application with the system (
Fig. 5). Programs have often other smaller programs inside (
components), that serve up the main program. Sometimes these components lose their connection to the main program and this tool restores it.
8.
Computer Management (Compmgmt.msc): accessible from Control Panel, Command Prompt or Start/Search, gives access to several
snap-ins (individual tools) to manage and troubleshoot a system (
Fig. 6).
9.
Data Sources (ODBC): an Administrative Tool listed in Control Panel allowing to open a foreign data source by installing specific drivers. It's also used when a file extension is assigned to a wrong program and allows to associate a certain extension to programs which normally shouldn't open it.
10.
Device Driver Roll Back: accessible from Device Manager, allows to restore a previous working version of a driver when a device shows issues after a driver update (
Fig. 8).
11.
Device Manager (Devmgmt.msc): accessible from System or System Properties (for XP), can troubleshoot problems with hardware devices, update drivers and also disable and uninstall a device (
Fig. 8).
12. Disk Cleanup (Cleanmgr.exe): Can delete unused files to recover disk space. This tool can also lead to solve boot problems caused by an insufficient disk space.
13.
Disc Defragmenter (dfrg.msc or defrag.exe): defragments a volume on a magnetic hard drive to improve performance.
14.
Disk Management (Diskmgmt.msc): can be accessed from Computer Management Console or from command prompt and can view and modify partitions or format drives (
Fig. 9).
15.
File Signature Verification Tool (sigverif.exe): checks for unsigned installed drivers and creates a report. This can be important to troubleshoot problems with a driver, because that's more likely to happen with unsigned drivers.
16.
Driver verifier (verifier.exe): identifies a driver that's causing a problem and troubleshoots system lockup errors or blue screens of death caused by a corrupted driver.
17.
Error reporting or archived messages: displays error messages generated by applications and in Windows 7 they are shown in the action center. Windows 7 and Vista track past problems and solutions, while XP doesn't. In Windows Vista this tool is called Problems Report and Solutions.
18.
Event Viewer (eventvwr.msc): accessible from Computer Management Console or Administrative Tools, shows error messages related to hardware, security and system problems.
19.
Group Policy(gpedit.msc): management tool for policies controlling users and the computer, that can be used to troubleshoot network problems but requires administrative privileges.
Stay tuned for the second part of this tutorial!


Comments
Post a Comment